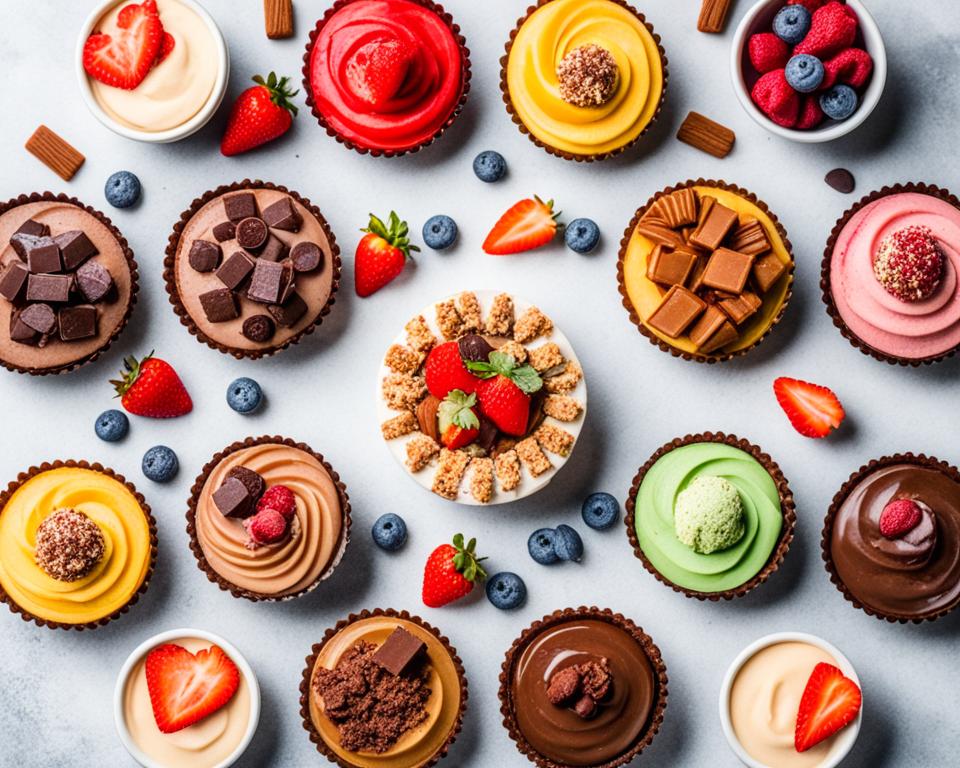
Are you craving something sweet? Look no further! In this article, we’ve curated a collection of heavenly dessert recipes that are easy to make at home. From rich chocolates to fruity delights, these homemade desserts are sure to satisfy your sweet tooth.
Whether you’re baking for a special occasion or simply treating yourself, these recipes are a delicious way to indulge in a little sweetness. The best part? You don’t need to be a pastry chef to create these delightful treats. They are simple, easy, and guaranteed to impress your friends and family.
So, roll up your sleeves, tie on your apron, and let’s dive into the world of desserts. Get ready to discover your new favorite homemade dessert recipes!
Key Takeaways:
- Discover a collection of heavenly dessert recipes that are easy to make at home.
- Indulge in a variety of flavors, from rich chocolate to fruity treats.
- You don’t need to be a pastry chef to create these delightful desserts.
- Impress your friends and family with these homemade sweets for any occasion.
- Get ready to satisfy your sweet cravings and explore the world of desserts.
Dark Chocolate Ganache Tart – A Decadent Indulgence
The Dark Chocolate Ganache Tart is a masterpiece of indulgence. With its rich and creamy ganache filling, this tart is a treat for chocolate lovers. It’s surprisingly easy to make and perfect for any occasion.
Indulge yourself with this heavenly dessert that combines the velvety smoothness of dark chocolate with a buttery crust. The melt-in-your-mouth ganache filling is luxuriously rich, delivering a burst of intense chocolate flavor with every bite.
Creating this decadent dessert is easier than you might think. The recipe calls for simple ingredients that can be found in most kitchens. Whether you’re a seasoned baker or a novice in the kitchen, you’ll be able to impress your family and friends with this chocolate delight.
To make the Dark Chocolate Ganache Tart, you’ll need:
- A pre-made pie crust or homemade crust of your choice
- Dark chocolate chips or chopped dark chocolate
- Heavy cream
- Butter
- Sugar
- Vanilla extract
- A pinch of salt
Here’s a step-by-step guide to creating this indulgent treat:
- Preheat your oven and blind bake the pie crust until golden brown.
- In a saucepan, heat the cream and butter until it begins to simmer. Remove from heat.
- Add the dark chocolate to the saucepan and let it sit for a few minutes to melt. Stir until smooth.
- Add sugar, vanilla extract, and salt to the mixture. Stir until well combined.
- Pour the ganache filling into the pre-baked pie crust.
- Smooth the surface of the tart with a spatula or the back of a spoon.
- Refrigerate the tart for at least two hours, or until the ganache is set.
- Once set, you can optionally garnish the tart with whipped cream, chocolate shavings, or fresh berries.
Whether you’re celebrating a special occasion or treating yourself to a well-deserved indulgence, the Dark Chocolate Ganache Tart is guaranteed to satisfy your chocolate cravings. With its smooth and velvety texture, it’s a dessert that will leave you craving more.
Indulge in the richness of this chocolate masterpiece and discover why it’s become a favorite among chocolate dessert enthusiasts.
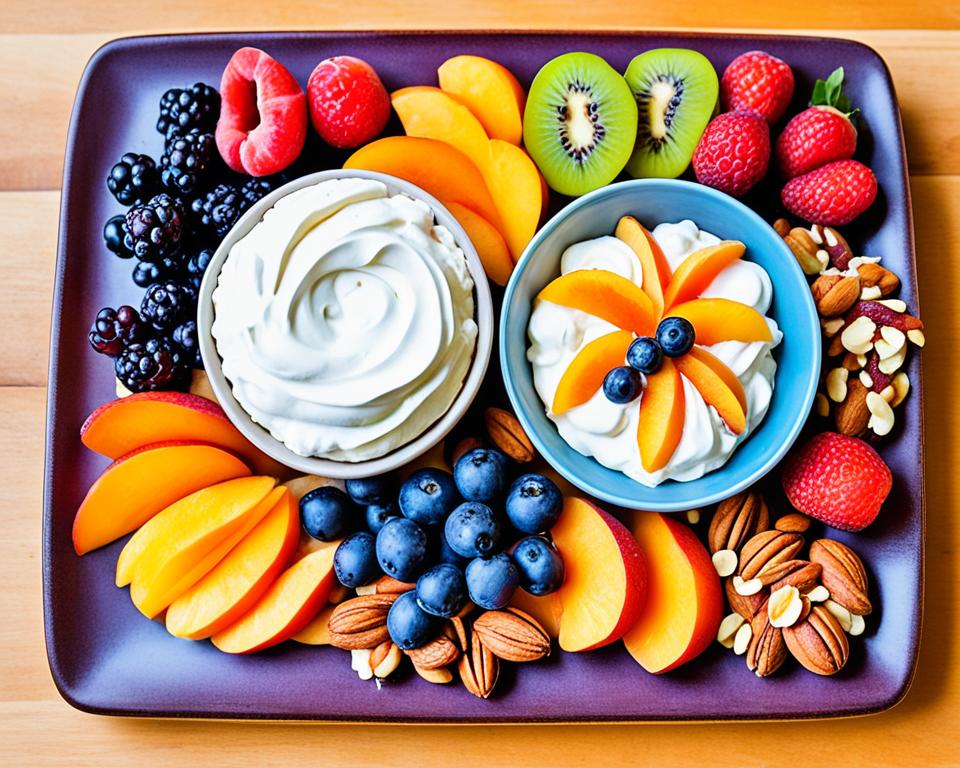
Refreshing Pavlova – A Light and Fruity Delight
Pavlova is a popular fruit dessert that combines a crisp meringue base with whipped cream and fresh berries. It’s a perfect choice for those who crave a light and refreshing treat, especially during warmer weather. The best part is, this dessert is incredibly easy to make with simple ingredients you probably already have in your kitchen.
The meringue base of Pavlova is light and delicate, with a slightly crispy exterior and a soft, marshmallow-like interior. It serves as the perfect canvas for the luscious whipped cream, which adds a creamy texture and a touch of sweetness. The fresh berries, such as strawberries, raspberries, or blueberries, provide a burst of freshness and a vibrant pop of color to the dessert.
To make your own Pavlova, start by whisking egg whites until they form stiff peaks. Gradually add sugar and continue whisking until the mixture becomes glossy. Next, gently fold in some cornstarch and vinegar, which help create that unique meringue texture. Shape the meringue into a nest-like structure on a lined baking sheet and bake it at a low temperature until it’s crisp on the outside but still soft on the inside.
Once the meringue is cooled, fill its center with the whipped cream, allowing it to spill over the edges. Arrange the fresh berries on top, creating a beautiful and enticing display. The combination of the sweet meringue, creamy whipped cream, and tart berries creates a harmonious balance of flavors that will satisfy any dessert craving.
If you’re looking to impress your guests, Pavlova is an elegant choice. Its stunning appearance and delightful taste make it a perfect dessert for special occasions or dinner parties. Its versatility also allows for customization – you can experiment with different fruits, such as mangoes, kiwis, or peaches, to create your own unique twist.
So, why not embrace the simplicity of homemade dessert recipes and try your hand at making a Pavlova? Its light and fruity flavors, combined with the satisfaction of creating something delicious from scratch, make it a true delight for both the taste buds and the soul.
| Ingredients | Instructions |
|---|---|
|
|
Tangy Lemon Bars – A Timeless Classic
Lemon bars are a simple yet sophisticated dessert that never goes out of style. The tangy lemon filling on a buttery shortbread crust creates the perfect balance of sweet and tart flavors. These classic treats are not only delicious, but they are also incredibly easy to make with just a few ingredients.
If you’re looking for a refreshing dessert that will impress your family and friends, look no further than these tangy lemon bars. Whether you’re hosting a dinner party or simply craving something sweet, these bars are sure to satisfy your dessert cravings.
Why Lemon Bars?
There’s something truly special about the combination of zesty lemons and buttery shortbread. The bright and tangy lemon filling cuts through the richness of the crust, creating a burst of flavor with every bite. It’s no wonder that lemon bars are a favorite among dessert lovers.
“The tangy lemon filling on a buttery shortbread crust creates the perfect balance of sweet and tart flavors.”
Not only are lemon bars delicious, but they are also incredibly versatile. They can be served as a dessert after a meal, enjoyed alongside a cup of tea or coffee, or even as a sweet treat during brunch. The simplicity of the recipe makes it a great option for both novice and experienced bakers.
Easy as 1-2-3
One of the best things about lemon bars is that they require minimal effort and ingredients. With just a few simple steps, you can create a delectable dessert that will impress everyone.
- Start by preparing the shortbread crust by combining flour, butter, and powdered sugar. Press the mixture into a baking dish and bake until golden brown.
- While the crust cools, prepare the tangy lemon filling. Mix together fresh lemon juice, eggs, sugar, and flour until well combined.
- Pour the lemon filling over the cooled crust and bake until set. Let it cool completely before cutting into bars and dusting them with powdered sugar.
It’s that easy! Within a short amount of time, you’ll have a batch of tangy lemon bars that look as good as they taste.
A Crowd-Pleaser Recipe
Lemon bars are not only easy to make, but they are also a crowd-pleaser. Whether you’re hosting a dinner party, a summer barbecue, or a potluck gathering, these bars are sure to be a hit. Their vibrant yellow color and tangy flavor make them stand out on any dessert table.
In addition to being a delicious treat, lemon bars also make for a great homemade gift. Wrap them up in a cute box tied with a ribbon, and you’ll have a thoughtful and tasty present that anyone would appreciate.
Indulge in Tangy Lemon Bars Today
So why wait? Get your hands on some lemons and start making these tangy lemon bars today. They are a timeless classic that will always bring smiles and satisfied taste buds. Whether you’re a lemon lover or just enjoy a good dessert, these bars are an absolute must-try.
Classic Tiramisu – An Italian Delight
Indulge in the heavenly flavors of classic tiramisu, an iconic Italian dessert that will transport you to the streets of Italy. With layers of soaked ladyfingers and creamy mascarpone cheese, this melt-in-your-mouth treat is sure to satisfy your sweet cravings.
Contrary to popular belief, making tiramisu is incredibly simple and requires only a handful of ingredients. Impress your guests with this easy dessert recipe that will leave them wanting more. Whether you’re a beginner or an experienced home cook, you’ll find joy in creating this Italian masterpiece.
A Traditional Recipe
If you’re looking for an authentic tiramisu recipe, here is a timeless classic that will never disappoint:
- Ingredients:
- 6 egg yolks
- 3/4 cup granulated sugar
- 2/3 cup milk
- 1 1/4 cups heavy cream
- 8 ounces mascarpone cheese
- 1 teaspoon vanilla extract
- 1 cup strong brewed coffee, cooled
- 2 tablespoons coffee liqueur (optional)
- 24 ladyfingers
- Unsweetened cocoa powder, for dusting
- Instructions:
- In a medium saucepan, whisk together the egg yolks and sugar until well combined.
- Add milk to the mixture and cook over medium heat, stirring constantly, until it thickens and coats the back of a spoon. Remove from heat and let cool.
- In a separate bowl, beat the heavy cream until stiff peaks form.
- In another bowl, cream the mascarpone cheese until smooth. Add the vanilla extract and mix well.
- Gently fold the cooled egg mixture into the mascarpone cheese until fully incorporated.
- Combine the cooled brewed coffee and coffee liqueur (if using) in a shallow dish.
- Dip each ladyfinger into the coffee mixture for a few seconds, making sure not to oversoak them.
- Arrange a layer of soaked ladyfingers in the bottom of a rectangular dish.
- Spread half of the mascarpone mixture over the ladyfingers.
- Repeat the process with another layer of soaked ladyfingers and the remaining mascarpone mixture.
- Smooth the top with a spatula and dust with cocoa powder.
- Cover the dish and refrigerate for at least 4 hours or overnight to allow the flavors to meld together.
- Serve chilled and enjoy the lusciousness of this classic Italian dessert.
Now that you have the recipe for tiramisu, it’s time to gather the ingredients and embark on a culinary journey to Italy. Your taste buds will thank you for this delectable homemade dessert.
“Tiramisu, with its delicate layers of coffee-soaked biscuits and creamy mascarpone, is a true celebration of flavors. It’s the perfect ending to any meal, and its simplicity allows the ingredients to shine. Give it a try, and you’ll discover a new favorite dessert.” – Chef Alessandro
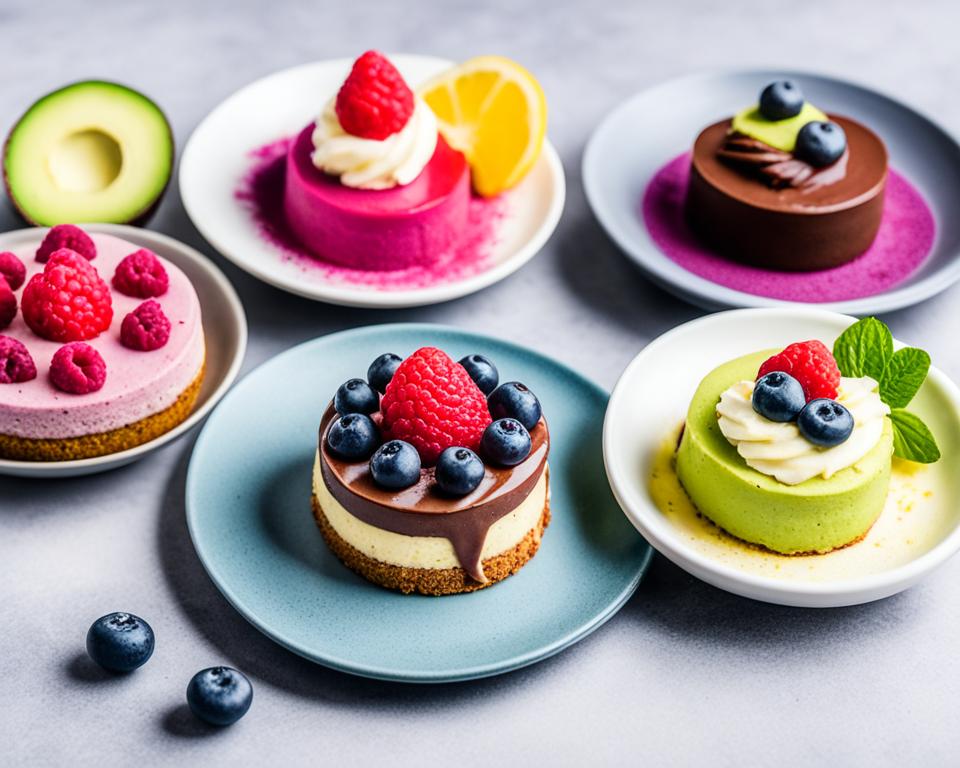
Matcha Mousse Cake – An Indulgent and Refreshing Treat
The Matcha Mousse Cake is the perfect dessert for those who appreciate the earthy bitterness of matcha. This delightful treat combines the rich flavors of matcha with a light and airy mousse, creating a unique and indulgent experience. The stunning green color of the cake makes it a showstopper on any dessert table.
Not only is the Matcha Mousse Cake a feast for the eyes, but it’s also a gluten-free dessert option, making it suitable for those with dietary restrictions. The use of matcha, a powdered green tea, adds a touch of natural sweetness and a boost of antioxidants to the cake, making it a healthier choice compared to traditional desserts.
Creating this delectable dessert is easier than you might think. With just a few simple ingredients like matcha powder, whipped cream, and sugar, you can whip up a showstopping Matcha Mousse Cake that will impress your friends and family.
If you’re still not convinced, here’s what some satisfied dessert enthusiasts have to say about the Matcha Mousse Cake:
“The combination of matcha and mousse is truly divine. The texture is so light and airy, and the bitterness of matcha is perfectly balanced with the sweetness of the mousse.” – Jane
If you’re looking for a dessert that’s not only delicious but also refreshing, the Matcha Mousse Cake is the way to go. You can even serve it with a dollop of whipped cream and a sprinkle of matcha powder for an added touch of elegance. It’s the ideal dessert for special occasions or when you simply want to treat yourself to something extraordinary.
So, why not give this matcha-infused creation a try? It’s a gluten-free indulgence that will satisfy your sweet tooth while adding a touch of sophistication to your dessert repertoire.
Next, let’s explore another heavenly dessert that will tantalize your taste buds – the Heavenly Oreo Dessert.
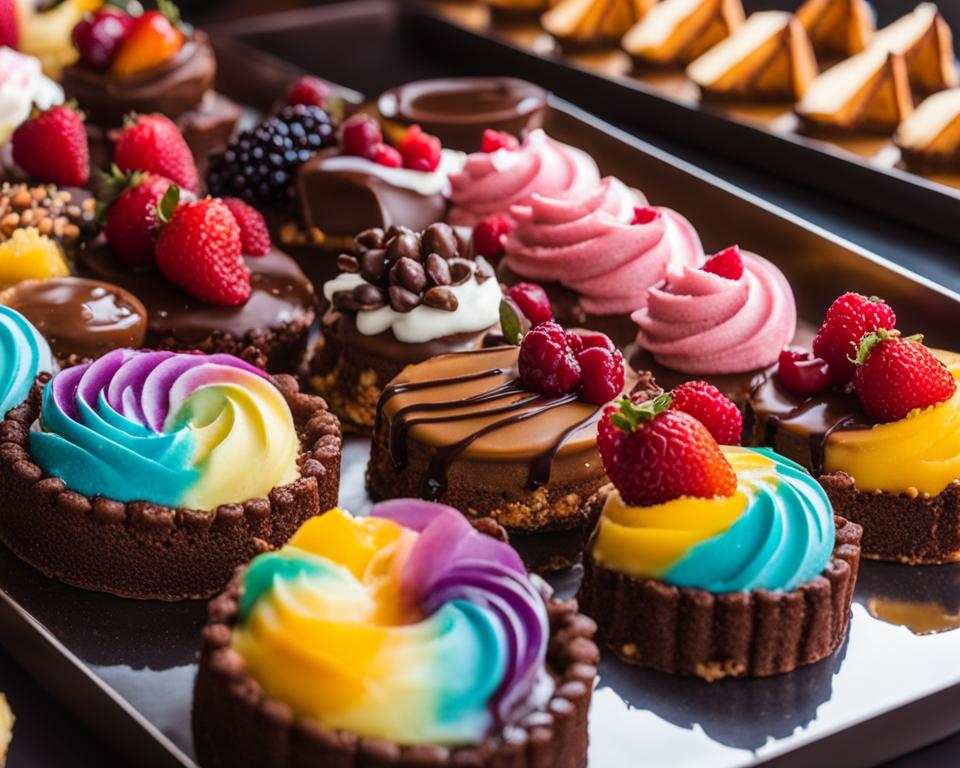
Heavenly Oreo Dessert – Dangerously Delicious
The Heavenly Oreo Dessert is the ultimate indulgence for any dessert lover. It combines the irresistible flavors of chocolate and cream in a deliciously layered treat. From the silky smooth chocolate pudding to the fluffy cream cheese and whipped topping, each bite is a heavenly delight for your taste buds.
What makes this dessert even better? It’s a no-bake recipe, so you don’t have to spend hours in the kitchen. Simply layer the ingredients, let it chill in the refrigerator, and voila! You have a decadent dessert that will impress your family and friends.
“The Heavenly Oreo Dessert is a crowd-pleaser with layers of chocolate pudding, cream cheese, and whipped topping.”
Indulgent dessert recipes like the Heavenly Oreo Dessert are perfect for special occasions or when you want to treat yourself to something truly scrumptious. Whether you’re serving it at a dinner party or enjoying it as a late-night snack, this dessert will satisfy your sweet tooth and leave you craving for more.
To give you a visual tease of this delightful dessert, take a look at the mouthwatering image below:

So why wait? Try this dangerously delicious Heavenly Oreo Dessert recipe today and experience pure dessert bliss.
Drunken Cherry Cake – A Moist and Boozy Delight
Indulge in the rich and flavorful Drunken Cherry Cake, a delightful treat infused with the irresistible combination of cherries and rum. This moist and decadent cake will transport your taste buds to dessert paradise. Whether you’re celebrating a special occasion or looking to add a touch of sophistication to your dessert table, this boozy delight is a perfect choice.
The Drunken Cherry Cake is made with love and care, combining the sweetness of cherries with the warmth of rum. Each bite is a burst of flavor and a symphony of textures, leaving you wanting more. The moist cake layers are complemented by a luscious cherry filling and a velvety rum-infused frosting, creating a harmonious balance of taste and indulgence.
This special occasion dessert is an elegant centerpiece, guaranteed to impress your guests. The combination of cherries and rum adds a sophisticated twist to the traditional cake, making it the perfect choice for weddings, anniversaries, or any event where dessert takes center stage.
Boasting a stunning presentation and a tantalizing aroma, the Drunken Cherry Cake is as visually appealing as it is delicious. The rich red hue of the cherries, paired with the luxurious golden-brown cake layers and the creamy frosting, creates a feast for the eyes. Your guests will be captivated by its beauty before they even take their first bite.
Recipe:
“The Drunken Cherry Cake is a masterpiece of indulgence. The combination of cherries and rum elevates this dessert to new heights of flavor. Whether you’re a seasoned baker or a novice in the kitchen, this recipe is accessible and rewarding. Get ready to create a dessert that will make everyone’s taste buds dance!”
| Ingredients | Instructions |
|---|---|
|
|
Apple Hand Pies – Individual Treats with Fresh Flavors
If you’re craving a delicious apple dessert, look no further than these homemade Apple Hand Pies. With their crispy crust and fresh apple filling, they’re the perfect individual treats for snacking or even breakfast. And the best part? They’re easy to make right in your own kitchen!
Simple Ingredients, Incredible Taste
Apple Hand Pies are made with just a few basic ingredients:
- Flour
- Butter
- Fresh apples
- Sugar
- Cinnamon
That’s it! By using simple, wholesome ingredients, you can create a delightful dessert that highlights the natural flavors of the apples.
Perfectly Portable and Easy to Make
The beauty of Apple Hand Pies lies in their individual portions. Whether you’re packing them for a picnic or enjoying them on-the-go, these hand pies are conveniently sized and mess-free.
To make Apple Hand Pies, start by preparing the dough using flour, butter, and a pinch of salt. Roll out the dough and cut it into circles. Then, fill each circle with a mixture of sliced apples, sugar, and cinnamon. Fold the dough over the filling, seal the edges, and bake until golden and crisp.
Let the aroma of freshly baked apple pies fill your kitchen as you take them out of the oven. These hand pies will be irresistibly tempting, with their golden-brown crust and tender apple filling.
Get Creative with Flavors
While the classic combination of apples, sugar, and cinnamon is truly delightful, you can also experiment with other flavors and add-ins. For a tangy twist, try adding a splash of lemon juice or zest to the apple filling. You can also sprinkle some nutmeg or cloves for a warm and cozy flavor.
A Delectable Dessert for Any Occasion
Whether you’re hosting a family gathering or simply treating yourself to something special, Apple Hand Pies are a fantastic choice. Serve them warm with a scoop of vanilla ice cream for a comforting dessert, or enjoy them with a cup of coffee for a delightful breakfast treat.
Don’t miss out on the opportunity to enjoy these individual apple pies bursting with fresh flavors. Try this recipe today and satisfy your craving for a homemade apple dessert that’s sure to impress.
Pumpkin Pecan Pie – A Fall Favorite
Indulge in the warm flavors of fall with this scrumptious Pumpkin Pecan Pie. It’s the perfect dessert to satisfy your cravings for pumpkin and pecans. With a homemade crust, a luscious caramel sauce filling, and a delightful crunchy pecan topping, this pie is a true delight for the senses.

What makes this Pumpkin Pecan Pie even more amazing is that it’s dairy-free. You can enjoy all the rich, creamy goodness without worrying about any dairy products. It’s a wonderful option for those with dietary restrictions or anyone looking for a delicious dairy-free dessert.
Ingredients:
- 1 1/2 cups all-purpose flour
- 1/4 teaspoon salt
- 1/2 cup vegetable shortening
- 1/4 cup ice water
- 1 cup canned pumpkin puree
- 1/2 cup granulated sugar
- 1/2 cup packed brown sugar
- 1 teaspoon ground cinnamon
- 1/4 teaspoon ground nutmeg
- 1/4 teaspoon ground ginger
- 1/4 teaspoon salt
- 2/3 cup full-fat coconut milk
- 3 tablespoons cornstarch
- 2 tablespoons maple syrup
- 1 teaspoon vanilla extract
- 1/2 cup chopped pecans
- 1/4 cup packed brown sugar
- 2 tablespoons dairy-free butter, melted
Instructions:
- In a large bowl, combine the flour and salt. Cut in the vegetable shortening using a pastry blender until the mixture resembles coarse crumbs. Gradually add the ice water, tossing with a fork until the dough holds together.
- Shape the dough into a disk, wrap it in plastic wrap, and refrigerate for at least 30 minutes.
- Preheat the oven to 375°F (190°C).
- Roll out the dough on a lightly floured surface and fit it into a 9-inch pie dish. Trim and flute the edges.
- In a large bowl, whisk together the pumpkin puree, granulated sugar, brown sugar, cinnamon, nutmeg, ginger, and salt. In a separate small bowl, whisk together the coconut milk, cornstarch, maple syrup, and vanilla extract. Gradually add the coconut milk mixture to the pumpkin mixture, whisking until smooth.
- Pour the pumpkin filling into the prepared pie crust.
- In a small bowl, combine the chopped pecans, brown sugar, and melted dairy-free butter. Sprinkle the pecan mixture evenly over the pumpkin filling.
- Bake the pie for 45 to 50 minutes, or until the filling is set and the crust is golden brown.
- Remove the pie from the oven and let it cool completely before serving.
This Pumpkin Pecan Pie is a delightful dessert that captures the flavors of fall. Serve it at your next gathering or enjoy it as a special treat for yourself. It’s sure to impress and satisfy everyone’s sweet tooth.
Conclusion
The world of desserts is a treasure trove of indulgence, offering a plethora of options to satisfy your sweet cravings. Whether you’re a chocolate lover or a fan of fruity delights, there’s a heavenly dessert recipe waiting to tantalize your taste buds. From elegant dinner parties to solo indulgence, these recipes are sure to bring joy to every occasion.
Embrace the sweetness and embark on a delicious journey through the world of desserts. With easy-to-follow recipes, you can create decadent treats in the comfort of your own kitchen. So why wait? Treat yourself and your loved ones to these delightful dessert creations that are sure to leave a lasting impression.
So the next time you find yourself yearning for something sweet, turn to these irresistible dessert recipes. Let the rich flavors and enticing aromas transport you to a world of pure bliss. Whether it’s a special occasion or just a moment of self-indulgence, these desserts will be the perfect accompaniment to satisfy your sweet cravings. So go ahead, explore the delightful world of desserts and savor every exquisite bite!
FAQ
Are these dessert recipes easy to make at home?
Yes, all of these dessert recipes are designed to be easy to make at home. They require simple ingredients and straightforward instructions.
Do these dessert recipes include gluten-free options?
Yes, one of the dessert recipes, the Matcha Mousse Cake, is gluten-free. It is perfect for those who are following a gluten-free diet or have gluten intolerance.
Are these dessert recipes suitable for special occasions?
Absolutely! Several of the dessert recipes, such as the Dark Chocolate Ganache Tart and Drunken Cherry Cake, are perfect for special occasions or celebrations.
Can I prepare these desserts ahead of time?
Yes, many of these desserts can be prepared in advance. This allows you to save time and enjoy the treats without the stress of last-minute preparation.
Are these dessert recipes suitable for those with dietary restrictions?
Yes, some of the dessert recipes, like the Pumpkin Pecan Pie, are dairy-free, making them suitable for individuals with lactose intolerance or dairy allergies.
Do these dessert recipes use expensive or hard-to-find ingredients?
No, all of these dessert recipes use common ingredients that are easy to find in most grocery stores. You don’t need to break the bank or spend hours searching for specialty items.
Can I adjust the sweetness level of these desserts?
Yes, you have the flexibility to adjust the sugar or sweetener levels to suit your taste preferences. Feel free to experiment and make the desserts as sweet or as subtle as you like.
Do these dessert recipes involve any complex techniques?
No, these dessert recipes are designed to be approachable for home cooks of all skill levels. You won’t need any advanced culinary techniques to create these delicious treats.
Can I substitute ingredients in these dessert recipes?
In most cases, you can make minor substitutions to suit your dietary preferences or to work with the ingredients you have on hand. However, major substitutions may affect the final result.