
Looking for a delicious and comforting dessert that will wow your family and friends? Look no further than this easy homemade apple pie recipe. With its flaky crust and flavorful spiced cinnamon apple filling, it’s the perfect treat for any occasion.
Whether you’re hosting a holiday gathering or simply have a craving for a classic dessert, this apple pie recipe is sure to satisfy. Made with common ingredients such as apples, sugar, flour, cinnamon, and lemon, it’s a dessert that can be whipped up in no time.
One of the key factors in making a great apple pie is choosing the right apples. Granny Smith, Honeycrisp, Jazz, Golden Delicious, Jonagold, and Pink Lady are all excellent choices due to their balance of sweetness and tartness, as well as their ability to hold up well during baking.
To create a truly flaky pie crust, you have the option of making it from scratch or using a store-bought crust. Both options yield a tender and flaky crust that complements the sweet and tangy apple filling perfectly.
Once you’ve prepared your pie crust, it’s time to make the apple filling. Simply peel, core, and slice the apples, then toss them with sugar, flour, cinnamon, nutmeg, lemon zest, and lemon juice. The result is a mouthwatering filling that will fill your kitchen with the aroma of freshly baked pie.
Assembling the pie is a breeze. Place one pie crust in the bottom of a deep-dish pie plate, spoon in the apple filling, and cover it with the second crust. Seal the edges, create vents for steam to escape, and give the crust a lovely golden finish with an egg wash and a sprinkle of sugar.
Now it’s time to bake your apple pie to perfection. The pie bakes at a high temperature to ensure the crust crisps up nicely, then at a slightly lower temperature to cook the apples to a soft and tender consistency. The result is a golden brown crust and bubbling, flavorful apple filling.
There are also tips and tricks to ensure your apple pie turns out perfectly every time. From discarding excess liquid in the filling to using a pie shield to prevent over-browning, these tips will help you achieve pie perfection.
Once your apple pie is ready, you can customize it to your liking. Serve it warm or cold, plain or with a dollop of ice cream or a slice of cheese on top. The possibilities are endless.
Packed with flavor and nostalgia, this homemade apple pie recipe is a must-try. So roll up your sleeves, gather your ingredients, and let’s get baking!
Key Takeaways:
- Choose apples that are both tart and firm, such as Granny Smith or Honeycrisp, for the best apple pie.
- Consider making your own flaky pie crust from scratch or using a store-bought crust for convenience.
- Toss the apple slices with sugar, flour, cinnamon, and lemon to create a flavorful and well-coated filling.
- Protect the edges of your pie from over-browning by using a strip of aluminum foil as a pie shield.
- Cool your apple pie slightly before serving to allow the filling to set and make for easier slicing.
Choosing the Right Apples for Apple Pie
The choice of apples plays a crucial role in making the perfect apple pie. To ensure a delicious and well-balanced pie, it’s important to select the best apples that will hold their shape and provide the right balance of sweetness and tartness.
The top choice for apple pie is the Granny Smith apple. Known for its tartness and firm texture, the Granny Smith holds up well during baking, maintaining its shape and providing a pleasant contrast to the sweet filling. Other recommended apple varieties for apple pie include:
- Honeycrisp
- Jazz
- Golden Delicious
- Jonagold
- Pink Lady
These varieties offer a perfect balance of sweetness and tartness, enhancing the flavor profile of your apple pie.
When choosing apples for your pie, avoid using very soft or mealy apples as they can turn mushy during baking, resulting in a less desirable texture. It’s best to select apples that have a firm and crisp texture to ensure a pie with a satisfying bite.
There are many apple varieties available, each with its own unique flavor and texture. Experiment with different combinations to discover your favorite apple pie flavor. Whether you prefer a tangy tartness or a hint of sweetness, the right choice of apples will elevate your homemade apple pie to new heights of deliciousness.
| Apple Variety | Tartness | Sweetness | Texture |
|---|---|---|---|
| Granny Smith | High | Low | Firm |
| Honeycrisp | Medium | High | Crisp |
| Jazz | Medium | Medium to High | Crisp |
| Golden Delicious | Medium | High | Tender |
| Jonagold | Medium to High | Medium | Crisp |
| Pink Lady | Low to Medium | High | Crisp |
Creating a Flaky Pie Crust
A great apple pie starts with a flaky pie crust. The recipe suggests using either an all-butter pie crust or a sourdough pie crust. Both options produce a tender and flaky crust. The dough can be made in advance and kept in the fridge or frozen until ready to use. Alternatively, a store-bought crust can be used, following the instructions on the packaging for handling.
Preparing a pie crust from scratch allows for customization and control over the ingredients. It’s a simple process that involves combining flour, salt, and cold butter or shortening until the mixture resembles coarse crumbs. Ice water is then added gradually to bring the dough together. It’s important to handle the dough gently to avoid overworking it, which could result in a tougher crust.
If you choose to make an all-butter pie crust, the key is to use cold butter and work quickly to keep it from softening. The small pieces of cold butter distributed throughout the dough create pockets of steam during baking, resulting in a flaky texture.
Tip: For extra flakiness, you can use a technique called “laminating” to create alternating layers of butter and dough. This involves folding the dough several times and chilling it in between folds.
If you opt for a sourdough pie crust, you’ll enjoy the tangy flavor and slightly different texture it brings to the pie. The addition of sourdough starter adds complexity to the crust and enhances the overall taste.

Note: Store-bought crusts can be a time-saving option, especially if you’re short on time or prefer the convenience. Choose a high-quality brand that offers a flaky texture. Make sure to thaw the crust according to the packaging instructions before use.
Preparing the Apple Pie Filling
To create the perfect apple pie, you need a delicious and flavorful filling. Follow these steps to prepare a mouthwatering cinnamon apple filling:
-
Start by peeling, coring, and slicing the apples. Use a sharp knife or an apple corer tool to remove the core and cut the apples into thin, even slices.
-
In a mixing bowl, combine the apple slices with granulated sugar, brown sugar, flour, cinnamon, nutmeg, lemon zest, and lemon juice. These ingredients will add sweetness, spice, and a hint of citrus to the filling, enhancing the overall flavor profile.
-
Toss the apple mixture until the slices are well coated and the ingredients are evenly distributed. This ensures that each bite of the pie will be bursting with delicious cinnamon apple goodness.
-
Take a moment to discard any excess liquid at the bottom of the bowl. This step is crucial as it helps prevent the crust from becoming soggy during the baking process, ensuring a perfect pie with a crispy crust and a luscious filling.
Now that your apple pie filling is ready, it’s time to move on to the next step of assembling and baking the pie.
| Ingredient | Quantity |
|---|---|
| Apples | 4-5 medium-sized |
| Granulated Sugar | 1/2 cup |
| Brown Sugar | 1/4 cup |
| Flour | 2 tablespoons |
| Cinnamon | 1 teaspoon |
| Nutmeg | 1/4 teaspoon |
| Lemon Zest | 1 teaspoon |
| Lemon Juice | 1 tablespoon |
Assembling and Baking the Apple Pie
Now that you have prepared your pie crust dough and apple pie filling, it’s time to assemble and bake your delicious homemade apple pie. Follow these step-by-step instructions to ensure a perfect result:
- Roll out the pie crust dough on a lightly floured surface until it is large enough to fit your deep-dish pie plate.
- Gently transfer one crust to the bottom of the pie plate, making sure it covers the entire bottom without stretching or tearing.
- Spoon the prepared apple pie filling into the crust, spreading it evenly across the surface.
- Cover the filling with the second pie crust. Press the edges of the crust together, sealing them by folding and pressing firmly.
- Using a sharp knife, make several small vents in the top crust to allow steam to escape during baking.
- For a beautiful golden finish, brush the surface of the crust with an egg wash. This will also help the sanding sugar adhere for added sweetness and visual appeal.
- To prevent over-browning of the crust edges, carefully place a foil or pie shield around the edges of the pie.
- Preheat your oven to 400°F (200°C).
- Place the assembled apple pie on a baking sheet and place it in the preheated oven.
- Bake the pie for 25 minutes at 400°F (200°C).
- After 25 minutes, reduce the oven temperature to 375°F (190°C) and continue baking for an additional 30-35 minutes, or until the crust is golden brown and the juice is bubbling.
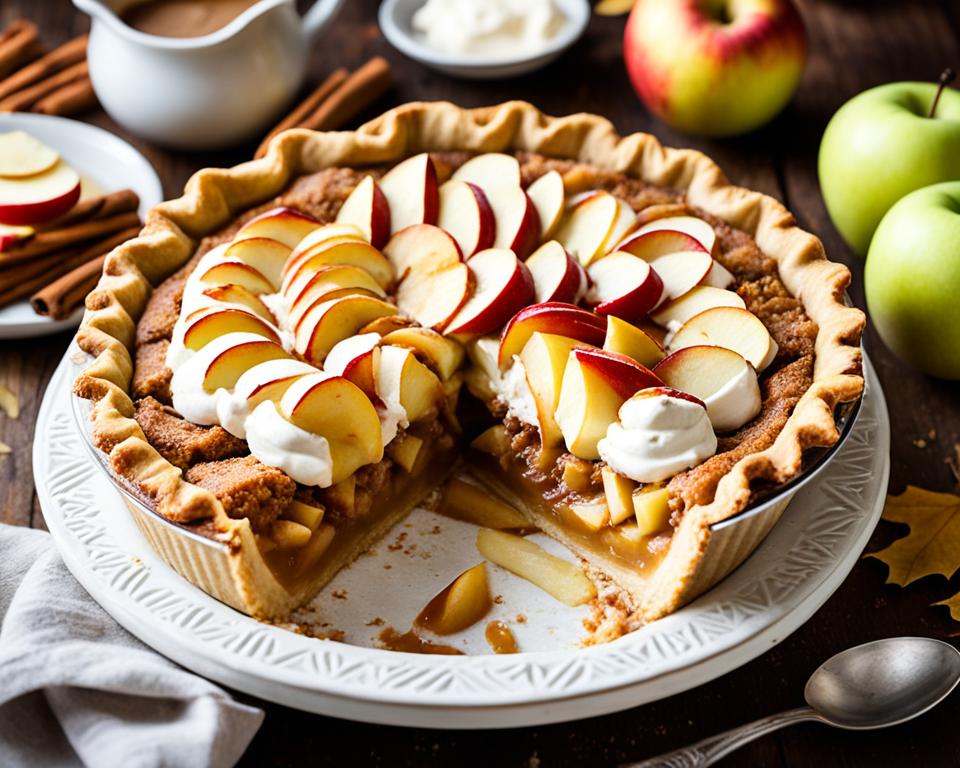
Once fully baked, remove the apple pie from the oven and let it cool for at least 2 hours before serving. This will allow the filling to set and the flavors to meld together perfectly. Serve warm or at room temperature, and enjoy!

Note: The image above shows the final result of assembling and baking the apple pie. It is for illustrative purposes only and may not reflect the exact appearance of your homemade apple pie.
Tips and Tricks for Perfect Apple Pie
When it comes to making the perfect apple pie, little tips and tricks can go a long way in ensuring a delicious and impressive dessert. Here are some handy tips to help you achieve apple pie perfection:
- Spoon out excess liquid: After combining the apple slices with the filling ingredients, spoon out any excess liquid that accumulates at the bottom of the mixing bowl. This will help prevent the bottom crust from becoming soggy.
- No need to pre-cook the apples: Contrary to popular belief, there’s no need to pre-cook the apples before adding them to the pie. Simply peel, core, and slice the apples, and they will soften and cook perfectly during the baking process.
- Use a pie shield: To prevent the edges of your pie crust from over-browning, you can fashion a pie shield using aluminum foil. Simply cut a strip of foil and gently fold it around the edges of the pie crust before baking.
- Make ahead and storage options: Apple pie can be made ahead of time to save precious minutes on busy days. You can prepare the pie, cover it tightly, and store it at room temperature for up to 2 days. If you prefer to keep it refrigerated, it can be stored for up to 5 days. Additionally, apple pie can be frozen for up to 4 months, allowing you to have a delicious homemade treat whenever the craving strikes.
With these tips and tricks, you’ll be able to create a perfect apple pie every time. Whether it’s a special occasion or simply a delightful dessert for your family, this classic recipe is sure to impress. Now, let’s dive into some delicious variations and customizations for your apple pie!
Variations and Customizations
While the recipe provides a classic apple pie variation, there are many ways to customize it to suit your taste preferences. By experimenting with different apple varieties, sugars, and spices, you can create a unique flavor combination that elevates your apple pie to new heights.
Here are some suggestions for customizing your apple pie:
- Apple Varieties: Try using a combination of apple varieties to bring a dynamic flavor to your pie. Mix and match tart and sweet varieties such as Granny Smith, Honeycrisp, Pink Lady, or Golden Delicious.
- Sugar Options: For a richer taste, substitute brown sugar for granulated sugar in your apple pie filling. The deeper caramel flavor adds complexity to the dessert.
- Spice It Up: Apple pie spice is a delightful blend of warm spices like cinnamon, nutmeg, and allspice. Adding this spice mix to your filling can enhance the overall flavor profile of your pie.
- Serving Suggestions: Take your apple pie to the next level by trying out different serving options. Top each slice with a scoop of vanilla or pumpkin pie ice cream for a delightful contrast of warm and cold. For a savory twist, melt a slice of cheddar cheese on top of the warm pie, creating a perfect balance of sweet and salty flavors.
Remember, the best part of baking is the freedom to experiment and create a dessert that reflects your taste preferences. Don’t be afraid to get creative with your apple pie variations!
| Apple Variety | Taste Profile |
|---|---|
| Granny Smith | Tart, firm |
| Honeycrisp | Sweet, juicy |
| Pink Lady | Crunchy, slightly sweet |
| Golden Delicious | Mild, sweet |
Experiment with different apple varieties to create a unique flavor combination in your apple pie filling.
Enhance the flavor profile of your apple pie by adding apple pie spice to the filling.
Storing and Freezing Apple Pie
After enjoying a delicious homemade apple pie, you might find yourself wondering about the best way to store any leftovers or if it’s possible to freeze the pie for future enjoyment. In this section, we will explore the proper methods for storing and freezing apple pie to ensure its freshness and flavor are preserved.
Storing Apple Pie
If your apple pie doesn’t contain any cream or eggs, you can store it at room temperature for up to 2 days. However, after 2 days, it’s best to refrigerate the pie to maintain its quality and prevent any potential bacterial growth. Simply cover the pie loosely with plastic wrap or aluminum foil and place it in the refrigerator.
Freezing Apple Pie
If you want to extend the shelf life of your apple pie even further, freezing is a great option. To freeze apple pie, follow these simple steps:
- Allow the pie to cool completely after baking.
- Wrap the pie tightly in plastic wrap to prevent freezer burn.
- Next, wrap the pie in aluminum foil for an added layer of protection.
- Label the wrapped pie with the date and contents.
- Place the wrapped pie in the freezer and freeze for up to 3 months.
When you’re ready to enjoy the frozen apple pie, it’s important to thaw it properly to preserve its texture and flavor. Thaw the pie overnight in the refrigerator to ensure even thawing. Once thawed, you can reheat the pie in the oven at a low temperature for about 15-20 minutes or until warmed through.
By following these storing and freezing guidelines, you can enjoy the taste of homemade apple pie even after it has been baked. Whether you choose to store it at room temperature, in the refrigerator, or freeze it for later, your apple pie will retain its deliciousness for days or even months to come.
Now that you know how to store and freeze apple pie, let’s move on to the nutritional information of this delightful dessert. (Note: The nutritional information provided is approximate and may vary based on specific ingredients and serving sizes.)
Nutritional Information
The nutritional information provided for the apple pie recipe includes the approximate calorie, carbohydrate, protein, and fat content per serving. This information can be useful for those monitoring their dietary intake.
Apple Pie Nutrition Facts
| Calories | Carbohydrates (g) | Protein (g) | Fat (g) |
|---|---|---|---|
| 350 | 40 | 2 | 18 |
The nutritional content may vary depending on the specific ingredients and variations used in the apple pie. It’s important to note that these values are approximate and may differ slightly based on portion sizes and individual preparations.
Enjoy the delicious flavors of apple pie while being mindful of your dietary needs. Whether enjoyed as a special treat or a regular dessert, knowing the nutritional information can help you make informed choices about your overall diet.
Conclusion
Making homemade apple pie is a delightful experience that yields a delicious dessert. With the right choice of apples, a flaky pie crust, and a well-prepared filling, you can create a classic treat that will impress your family and friends. Whether enjoyed warm or cold, this apple pie recipe is sure to be a crowd-pleaser. So don’t hesitate to try it out and savor the sweet and comforting flavors of this homemade dessert.
FAQ
What are the ingredients needed to make this easy homemade apple pie?
The ingredients for this apple pie include apples, granulated sugar, brown sugar, flour, cinnamon, nutmeg, lemon zest, lemon juice, and a pie crust.
Which types of apples are recommended for apple pie?
Granny Smith, Honeycrisp, Jazz, Golden Delicious, Jonagold, and Pink Lady are recommended for making apple pie.
Should the apples be cooked before adding them to the pie?
No, it is not necessary to cook the apples before adding them to the pie.
Can I use a store-bought pie crust?
Yes, you can use a store-bought pie crust if desired.
How long should I bake the apple pie?
The pie should be baked at 400°F for 25 minutes and then at 375°F for an additional 30-35 minutes.
How can I prevent the bottom crust from becoming soggy?
To prevent the bottom crust from becoming soggy, spoon the apples out of the mixing bowl and discard any excess liquid.
Can I customize the apple pie recipe?
Yes, you can experiment with different apple varieties, use brown sugar instead of granulated sugar, and add apple pie spice for additional flavor.
How should leftover apple pie be stored?
Leftover apple pie can be stored at room temperature for up to 2 days (if it doesn’t contain any cream or eggs) or in the refrigerator for up to 5 days.
Can I freeze apple pie?
Yes, apple pie can be frozen for up to 4 months. Thaw it overnight in the refrigerator before reheating.
What is the nutritional information for this apple pie recipe?
The nutritional information per serving includes the approximate calorie, carbohydrate, protein, and fat content.